Dry-Fire, Dry-Fire, Dry-Fire!
Dry fire is a technique anyone can practice at the range or, at home! Dry firing is simply the practice of shooting a firearm without ammunition in the chamber. The user pulls the trigger, the hammer drops, but nothing happens. Sounds pretty boring, right? Wrong! Once you see how well dry firing your gun can improve your accuracy, you’ll be a proponent for life!
Dry Fire Safety
Always double-check that your firearm is unloaded before dry fire practice begins!
Always unload “by procedure” (call us and ask if you are unsure!) And, always orient the firearm in a safe direction, depending on YOUR environment.
Follow all safety rules at all times!
Visualization
Before dry fire begins, it’s helpful to mentally note and verbalize: “dry-fire”. Visualization is a gem that the highest level of gun enthusiasts’ practices regularly to mentally prepare for the mental task at hand – operating a weapon accurately and safely. Visualize every small step of the drawing, gripping, aiming, front sight focus and trigger squeeze process down to the minute detail before even reaching for your weapon. Use your other senses in the process! imagine the texture of the grip, the size, color and shape of your target, the sound of the surprising trigger break, the smell of freshly fired gun powder. According to experts, visualization can help improve shooting skills more quickly than with live-fire training alone. used on a regular basis through imagination and dry fire.
Let’s get to the action!
What do you see?
Pick a point on the wall (use sticky notes) or a target and achieve a proper sight picture. With iron sights, focus on your front sight and avoid the temptation to check the target as you dry fire. The target should be out of focus, the front sight should be in focus, and the rear sight should be out of focus. Just stay focused on your front sight!
With an optic (red dot sight/ holographic sight, etc), the shooter should remain target focused. This gives you a huge advantage by keeping more of your attention on your field of view in front of you and makes for much faster target acquisition.
What do you feel?
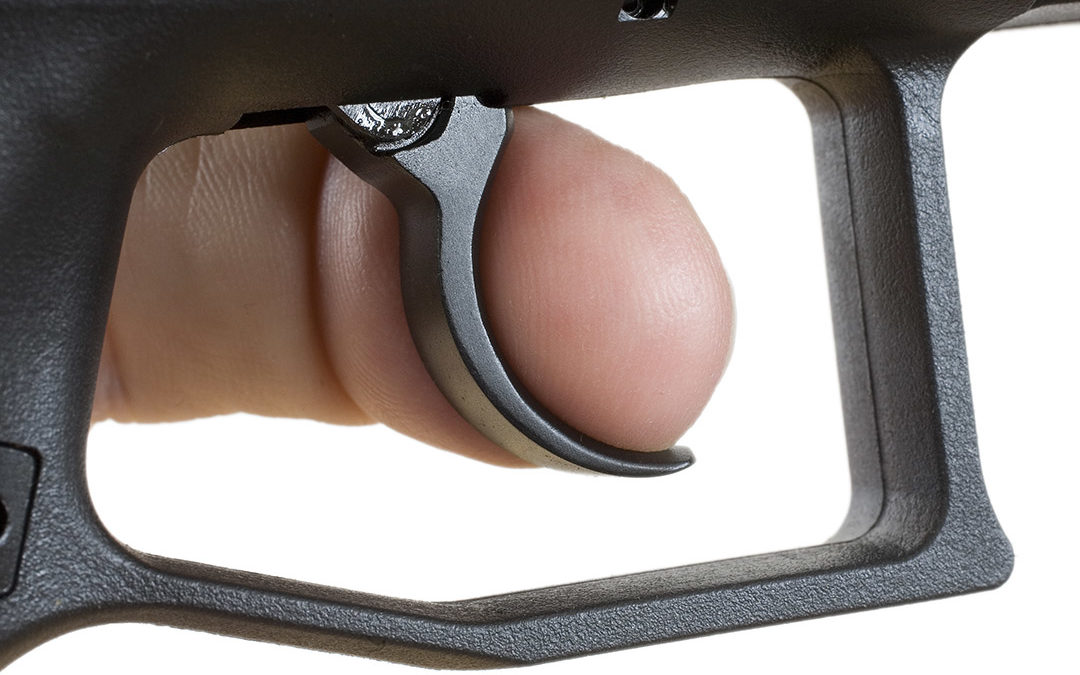
“Prep” the trigger by positioning your finger on it properly, then taking all of the slack out of it. Then slowly add pressure until the trigger breaks. This will help you tremendously during live-fire. Remember: we typically “miss” because the gun moves while pressing the trigger, so use minimal force. When the trigger breaks, the front sight post should not budge! If it does, you should get back to the fundamentals of how to aim a pistol.
Rinse and Repeat
Now that you’ve dry fired once, it’s time to do it again, and again and again! Every repetition simulates perfect live fire at the range, for completely free! Now, charge the slide to reset the trigger and repeat. At the range, practice 5 dry-fire reps for each live-fire rep. Continue this for 5 rounds and this drill will help you work through recoil anticipation and help get a feel for the trigger of your firearm. And, dry fire gun training will help make a box of 50 rounds EASILY last an hour! This is 717 Armory‘s motto, Learn | Shoot | Repeat at its core. Now get out there and go get after it!
Note: Do NOT dry fire rim-fire firearms such as those chambered in .22 Long Rifle without using snap-caps or other dummy cartridges. Otherwise, you will risk damaging the firing pin of rim-fire firearms. Many firearm manufacturers will also advise the use of snap caps to minimize damage to the breach-face or other areas.


I like what I read above, and it makes good sense. However, I am a committed Black Powder guy. All my revolvers, rifles, etc. are BP. Now, my question; how do I set up for DRY FIRE for my revolvers? We don’t wish to damage the nipples on the cylinder, so what do we do. I really want to begin this practice of DRY FIRE, I believe it will help my skills for what ever reason I am prepping for. Please advise.